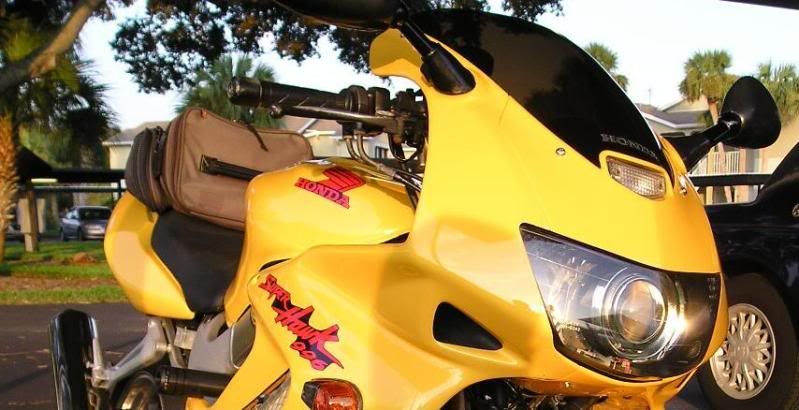
bi-xenon lamp fitment?
#31
Actually the tunnel does have an impact on cooling... The air is actually moving fom the inside of the radiator to the outside, since they are mounted in a slight V with the opening forward... The air goes in/up from the front and out the sides...
At speed the air can't move fast enough without it, making a low pressure area on the inlet side, and stopping the flow... So it's fed extra air through these tunnels to the top/inside and the system works at all speeds...
However, if you aren't completely blocking them, it's fine... I'm running with my HID ballast in there, keeping it cool...
#32
mine is largely blocked but not completely. we shall see.
before falling to sleep last night i was thinking about the headlight aim. i have nothing new to add but must say those reflectors, aiming screw, bulb design(halogen, we shall see about the hids), it all works very well together.
before falling to sleep last night i was thinking about the headlight aim. i have nothing new to add but must say those reflectors, aiming screw, bulb design(halogen, we shall see about the hids), it all works very well together.
#33
Actually the tunnel does have an impact on cooling... The air is actually moving fom the inside of the radiator to the outside, since they are mounted in a slight V with the opening forward... The air goes in/up from the front and out the sides...
At speed the air can't move fast enough without it, making a low pressure area on the inlet side, and stopping the flow... So it's fed extra air through these tunnels to the top/inside and the system works at all speeds...
However, if you aren't completely blocking them, it's fine... I'm running with my HID ballast in there, keeping it cool...
At speed the air can't move fast enough without it, making a low pressure area on the inlet side, and stopping the flow... So it's fed extra air through these tunnels to the top/inside and the system works at all speeds...
However, if you aren't completely blocking them, it's fine... I'm running with my HID ballast in there, keeping it cool...
this is a round-about and somewhat vague way of saying what Tweety explains in an analytical, mechanical fashion :-)
once i get my bike running, i'm going to look for some really rad mod that will require me to block that flow (maybe a gigantic after-market Regulator/Rectifier...)
--fred
#34
#35
yeah? and what about me?? fred with his vague and round-about analysis is not necessarily inferior to Tweety with his precise and straight-forward explanations! my approach adds a sense of adventure, excitement and uncertainty and getting lots of practice by doing things over.... you BN, you! :-)
#36
yeah? and what about me?? fred with his vague and round-about analysis is not necessarily inferior to Tweety with his precise and straight-forward explanations! my approach adds a sense of adventure, excitement and uncertainty and getting lots of practice by doing things over.... you BN, you! :-)
#40
take the time
take the time and do it right =]]
what is an HID bulb good for unless you have a lens off an Acura TL, other than blinding everyone you ride past?
pics below
what is an HID bulb good for unless you have a lens off an Acura TL, other than blinding everyone you ride past?
pics below
Last edited by intoxxx; 08-29-2011 at 04:36 AM.
#41
#42
hahah it was a long month... first of all.. stock up on beer and dont plan on having friends over to your apartment... start by popping the top off the bolt trying to remove your detent arm... and special order a bolt from japan. sit there with your bike in the middle of your life and inbetween you and the tv nightly. then get fed up, get drunk, and get creative
after reading these forums and a couple others, i went with theretrofitsource.com
Bi-xenon: Acura TL / ZKW-R Lens - HID Projectors from The Retrofit Source Inc
the largest one.
but i had confidence i could fit it with the factory reflector so i can use the aiming screws
also make sure you get the ZKW-R lens..
_________________________________
start small
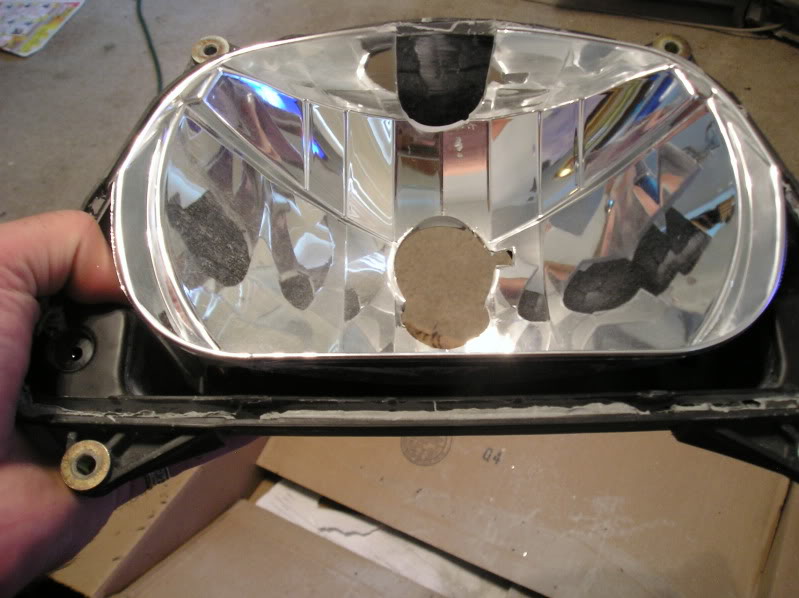
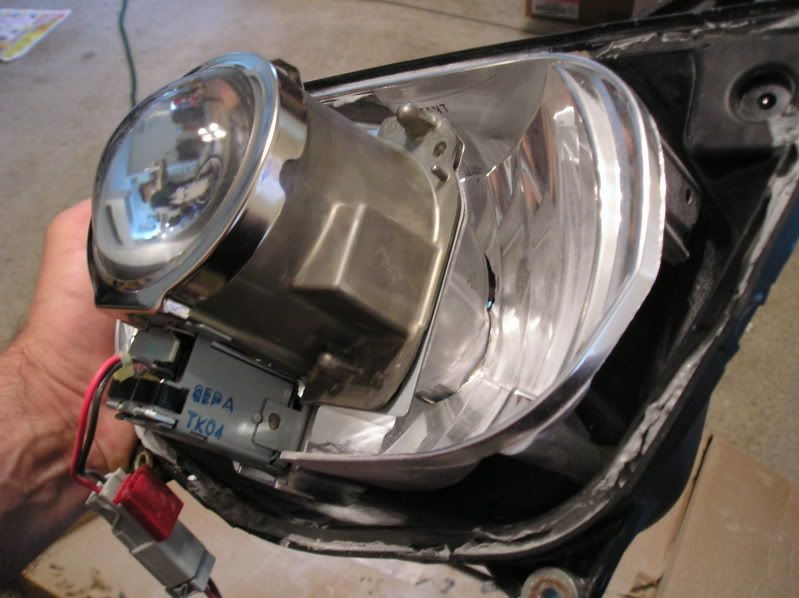
cut out for the high/low solenoid... snugg fit... make it straight too. mine ended up straighter. pic was first cut
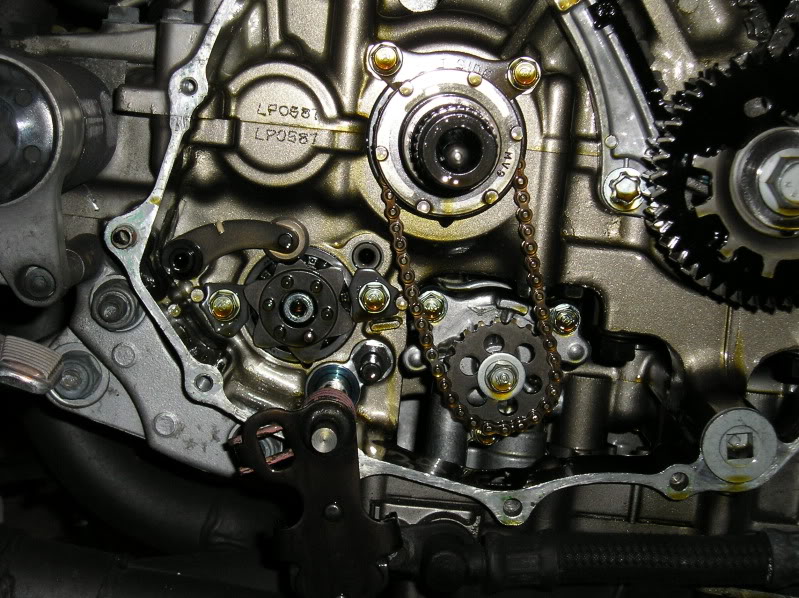
make sure you have ample time waiting for internal engine screws from japan after you snap off the head of the little detent arm bolt installing a factory pro evo shift star kit...... yeah 2 week shipping
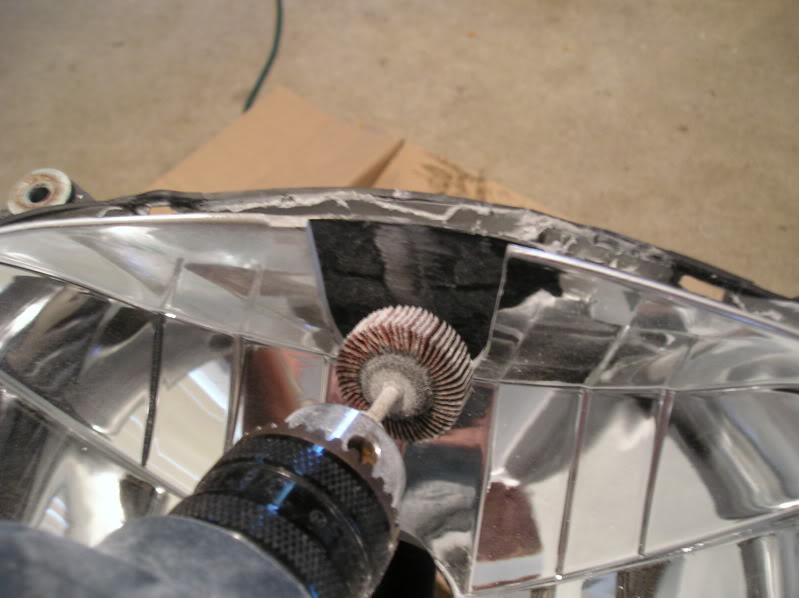
make sure your main hole is centered and using the dremmel sanding bit slowly make it larger
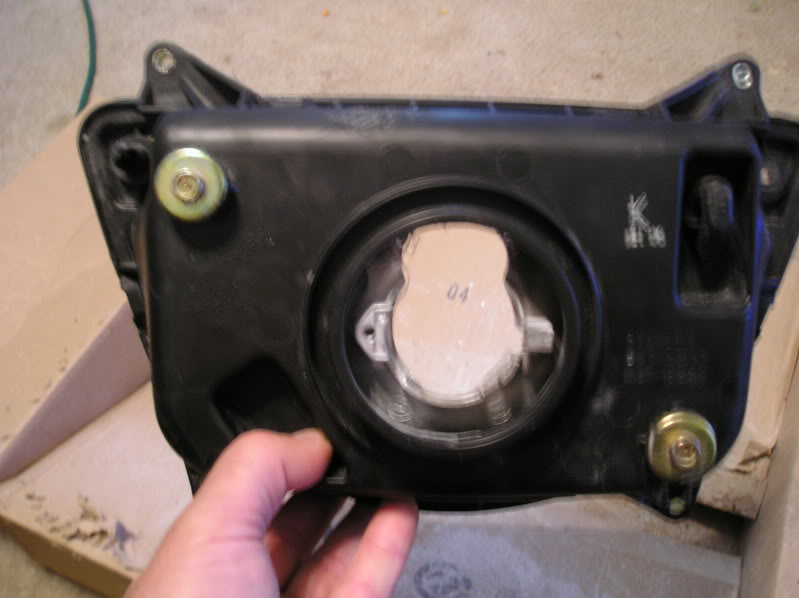
get it seated so you have room for the shroud when reassembled
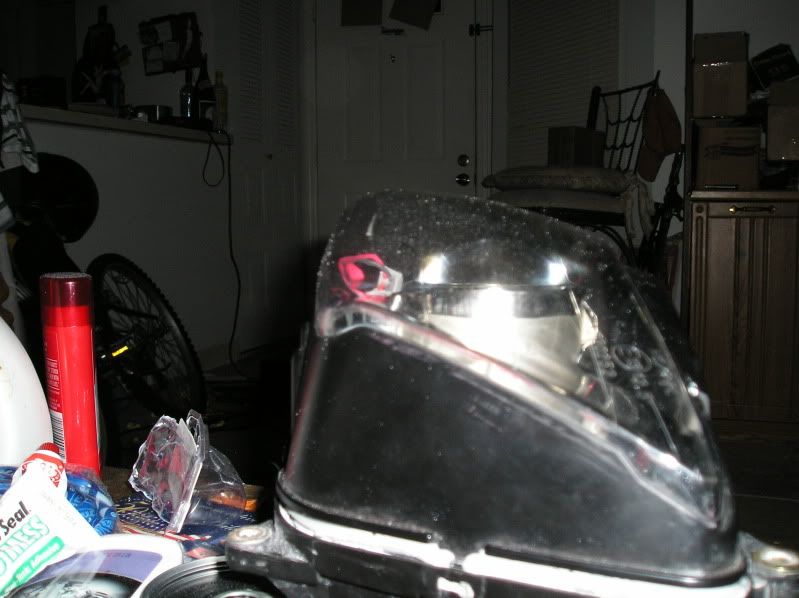
repaint your cover while you are waiting on JB Weld to dry once you have the HID seated.. lots of JB Weld on the tight fitting cut for the high/low solenoid and all around the base where you made the hole just right... yes thats a nickle. perfect size
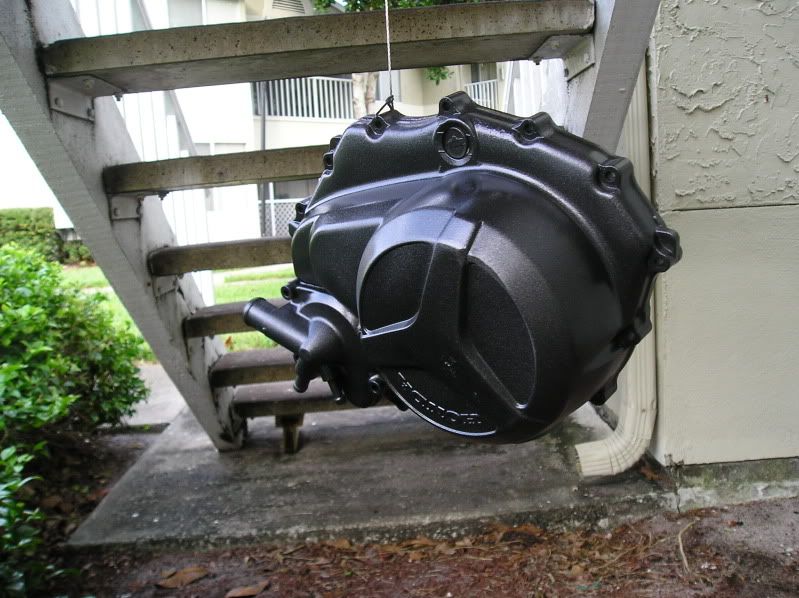
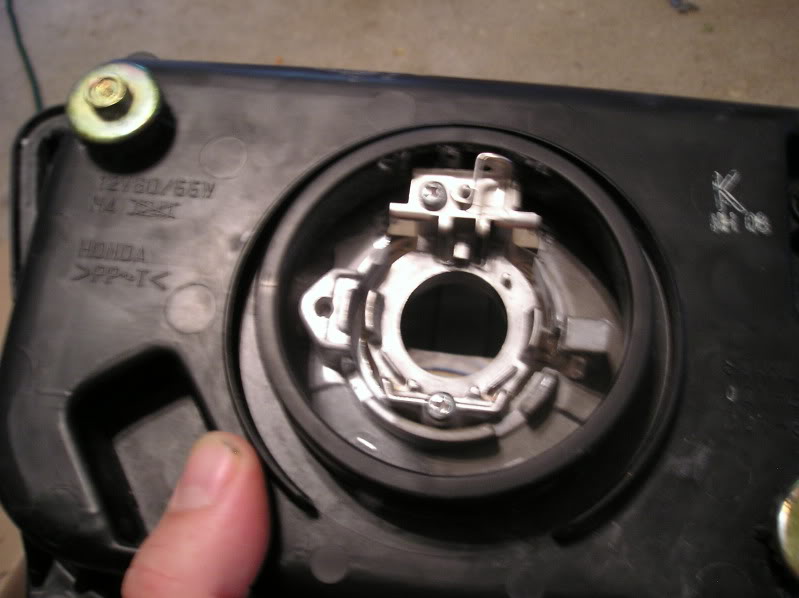
still waiting on engine bolt on the slow boat.. umm get creative and make a plexiglass insert to wire in a couple led's in the marker light
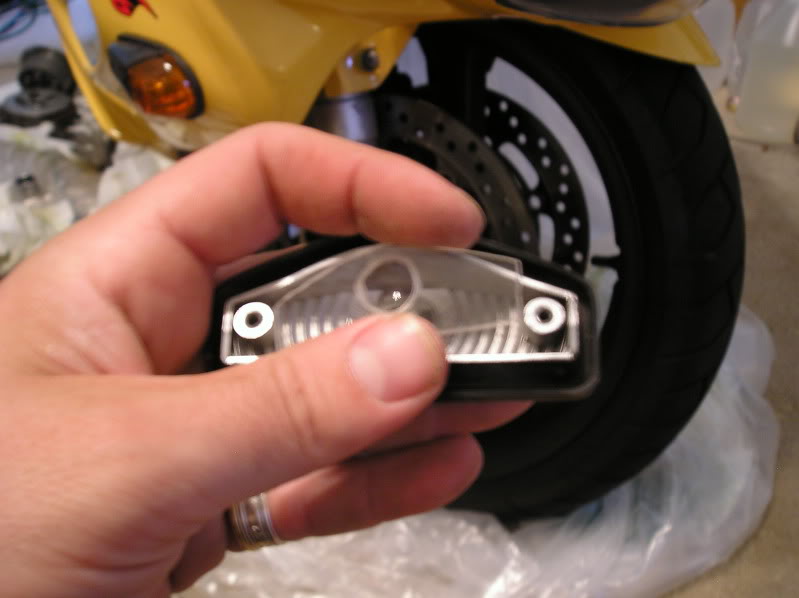
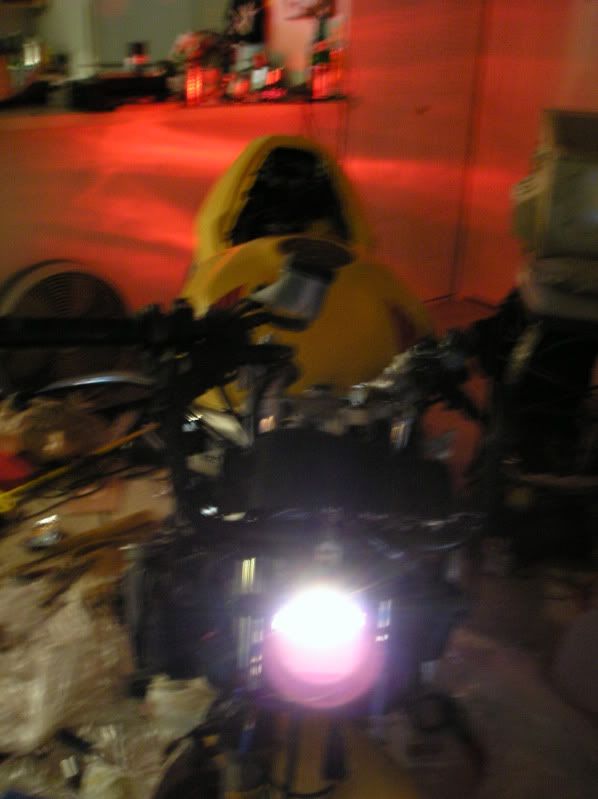
drink more beers after dremmeling your finger
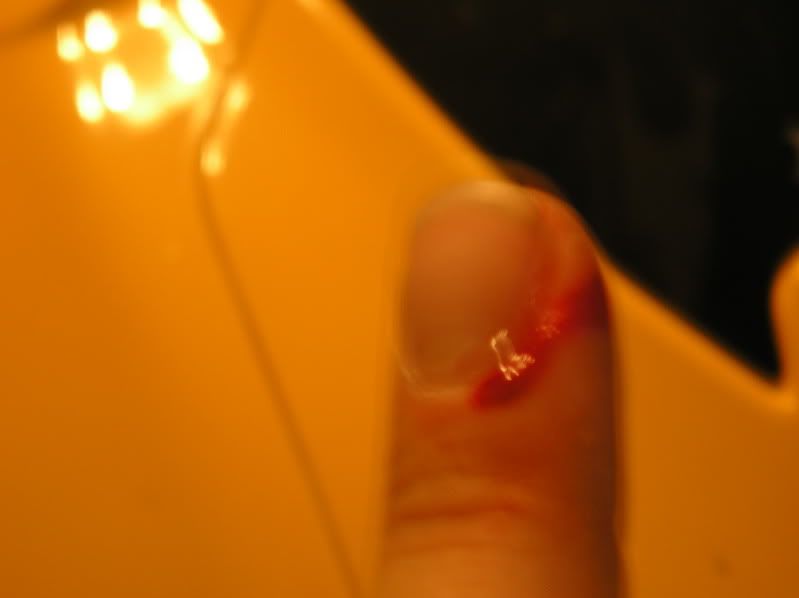
get everything almost done and then realize you forgot to make room for the shroud E55-R - Projector Shrouds from The Retrofit Source Inc
so start cutting away at the insert inside of the headlamp
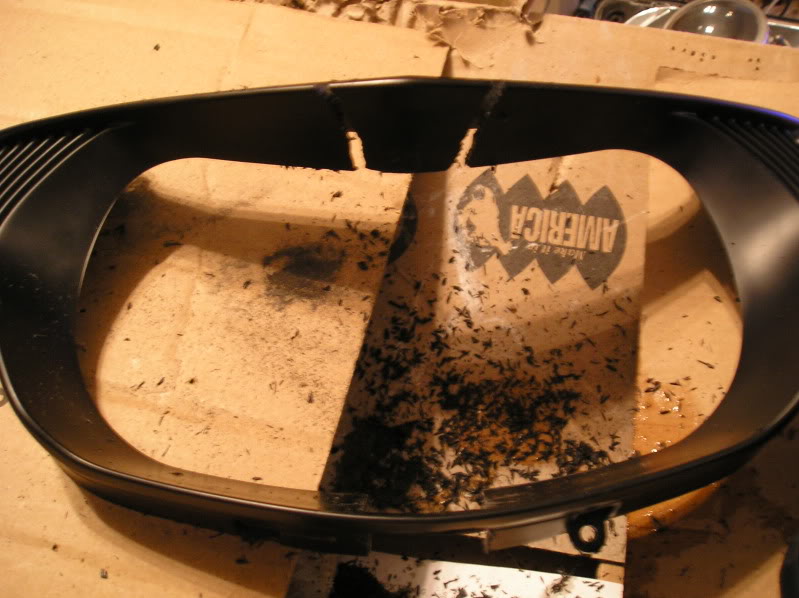
close it up. reseal the headlamp. wire it up. fire it up and open another beer. 2 if it doesnt work!
reuse the weather seal to eliminate moisture
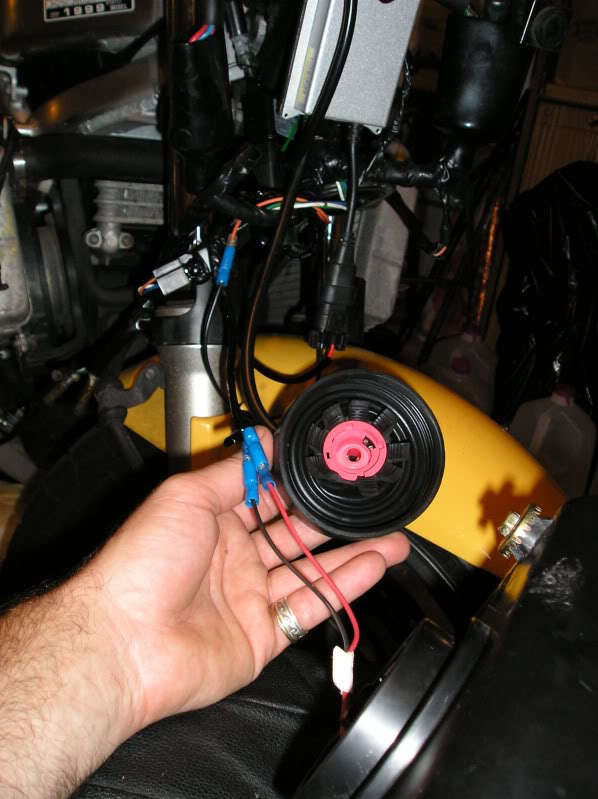
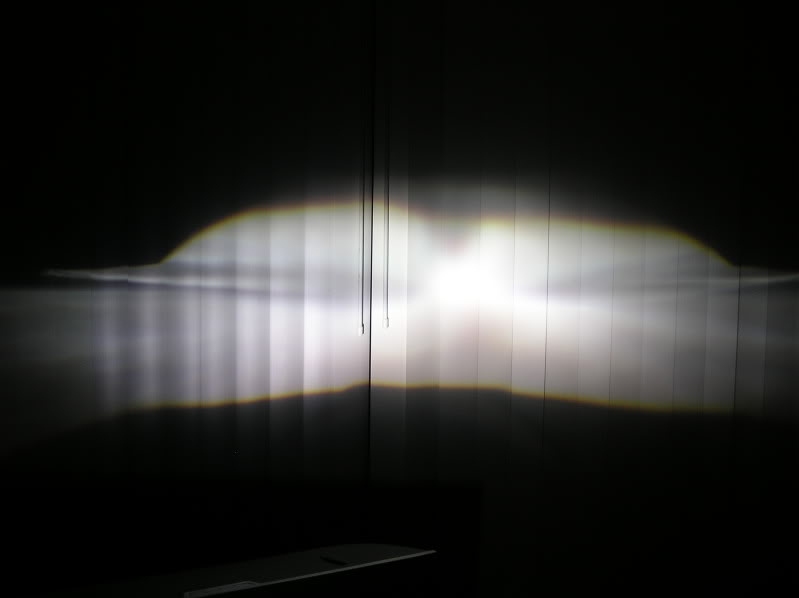
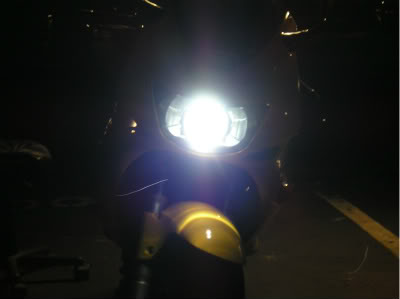
standing 2ft from blinds i think i woke up the neighbors...
also i needed to aim the lamp. easily done with the stock adjustment bolts.. 25 ft away from a wall 2.1" down from upclose on the wall..
also, when putting the cowl back on, the placement of the ballast under the guages didnt work out due to tight spacing, was a good idea when everything was appart. it ended up in the air intake space like most others have done
in the end... refill coolant with engine ice after flushing at running temps with distilled water and vinegar 1/2 diluted ... and use an ATV on off switch you can get on ebay for a few bucks that is waterproof as the master headlamp switch. marker light is fine with 2 custom led's and a high intensity 194 base led Super Bright LEDs - Store
get the wire harness while you are at it
Relay Harnesses from The Retrofit Source Inc
so you can use your factory high/low beam switch, plus it is a relay with a line straight to your battery
and its plug n play
questions comments concerns? yes i freeballed it!
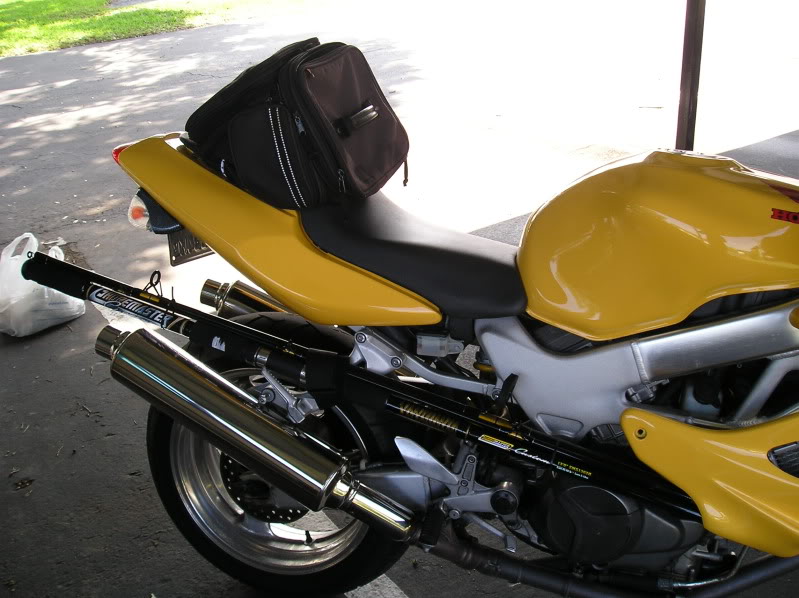
mount your fishing rod while you are at it
after reading these forums and a couple others, i went with theretrofitsource.com
Bi-xenon: Acura TL / ZKW-R Lens - HID Projectors from The Retrofit Source Inc
the largest one.
but i had confidence i could fit it with the factory reflector so i can use the aiming screws
also make sure you get the ZKW-R lens..
_________________________________
start small

cut out for the high/low solenoid... snugg fit... make it straight too. mine ended up straighter. pic was first cut

make sure you have ample time waiting for internal engine screws from japan after you snap off the head of the little detent arm bolt installing a factory pro evo shift star kit...... yeah 2 week shipping

make sure your main hole is centered and using the dremmel sanding bit slowly make it larger

get it seated so you have room for the shroud when reassembled

repaint your cover while you are waiting on JB Weld to dry once you have the HID seated.. lots of JB Weld on the tight fitting cut for the high/low solenoid and all around the base where you made the hole just right... yes thats a nickle. perfect size


still waiting on engine bolt on the slow boat.. umm get creative and make a plexiglass insert to wire in a couple led's in the marker light


drink more beers after dremmeling your finger

get everything almost done and then realize you forgot to make room for the shroud E55-R - Projector Shrouds from The Retrofit Source Inc
so start cutting away at the insert inside of the headlamp

close it up. reseal the headlamp. wire it up. fire it up and open another beer. 2 if it doesnt work!
reuse the weather seal to eliminate moisture


standing 2ft from blinds i think i woke up the neighbors...
also i needed to aim the lamp. easily done with the stock adjustment bolts.. 25 ft away from a wall 2.1" down from upclose on the wall..
also, when putting the cowl back on, the placement of the ballast under the guages didnt work out due to tight spacing, was a good idea when everything was appart. it ended up in the air intake space like most others have done
in the end... refill coolant with engine ice after flushing at running temps with distilled water and vinegar 1/2 diluted ... and use an ATV on off switch you can get on ebay for a few bucks that is waterproof as the master headlamp switch. marker light is fine with 2 custom led's and a high intensity 194 base led Super Bright LEDs - Store
get the wire harness while you are at it
Relay Harnesses from The Retrofit Source Inc
so you can use your factory high/low beam switch, plus it is a relay with a line straight to your battery
and its plug n play
questions comments concerns? yes i freeballed it!
mount your fishing rod while you are at it

#43
it is done. it works like a charm. i have got to say that i am impressed with how easy the install is and how well the kit works.
i mounted the ballast and relay in the fake ram air tunnelon the right side. everything fit nicely, and snug enough that it should not rattle around.
i mounted the ballast and relay in the fake ram air tunnelon the right side. everything fit nicely, and snug enough that it should not rattle around.
#46
everything was from retrofit source except the spare headlamp i found from a salvge yard on ebay for $100 (was in better condition than my original)..
everything from retrofitsource was $200 shipped.. ask for a single lamp package for a bike.
do your homework; they have different projectors, different shrouds, and different ballasts to choose from. they did question me if i knew how large the projector was compared to others. personal preference; you might like a smaller lens
have fun!
#47
i forget how much my hid kit was. about $50 on ebay. i got the car kit for two lamps. that way it only cost a bit more but i got a spare ballast and a spare bulb, and i already put the bulb in.
Thread
Thread Starter
Forum
Replies
Last Post
Besucher98
Modifications - Cosmetic
12
01-01-2006 09:39 PM


